fbpx

How To Build Your Own Custom ChatGPT Chatbot in 4 Easy Steps

How To Build Your Own Custom ChatGPT Chatbot

Table of Contents

Introduction

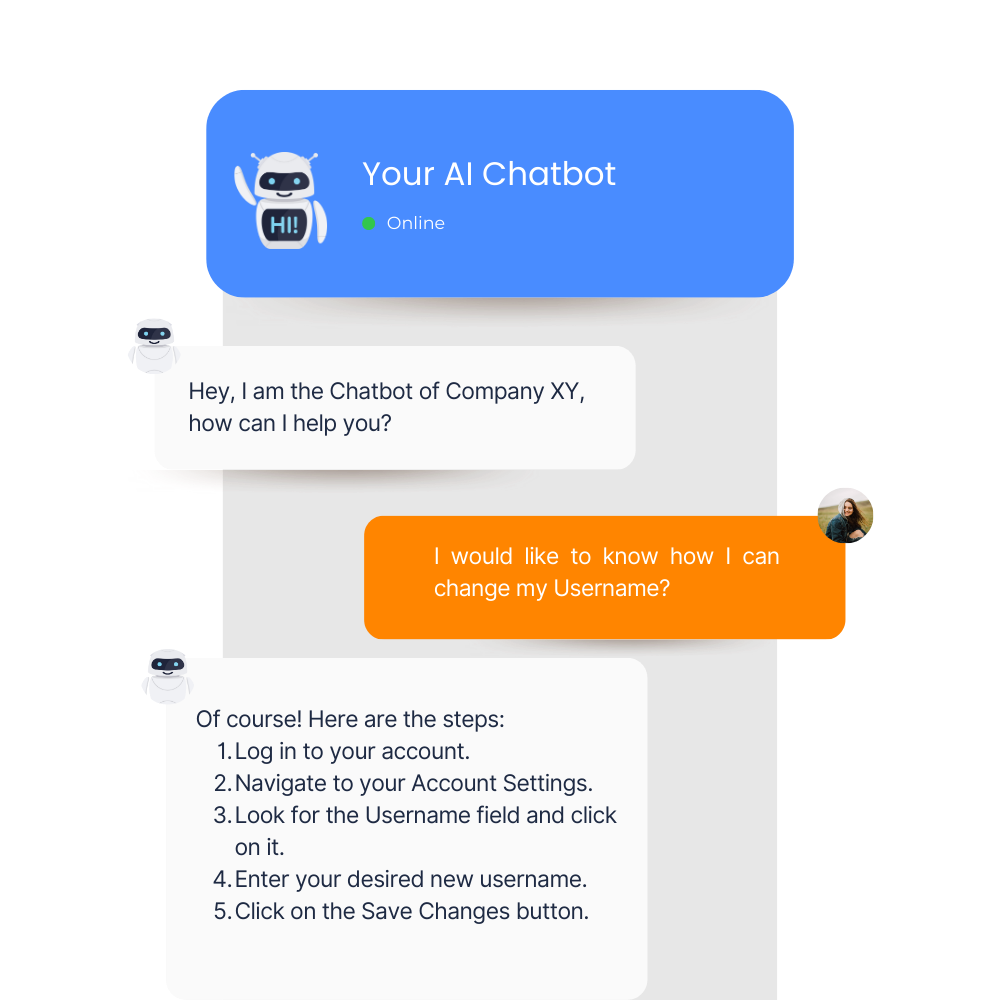
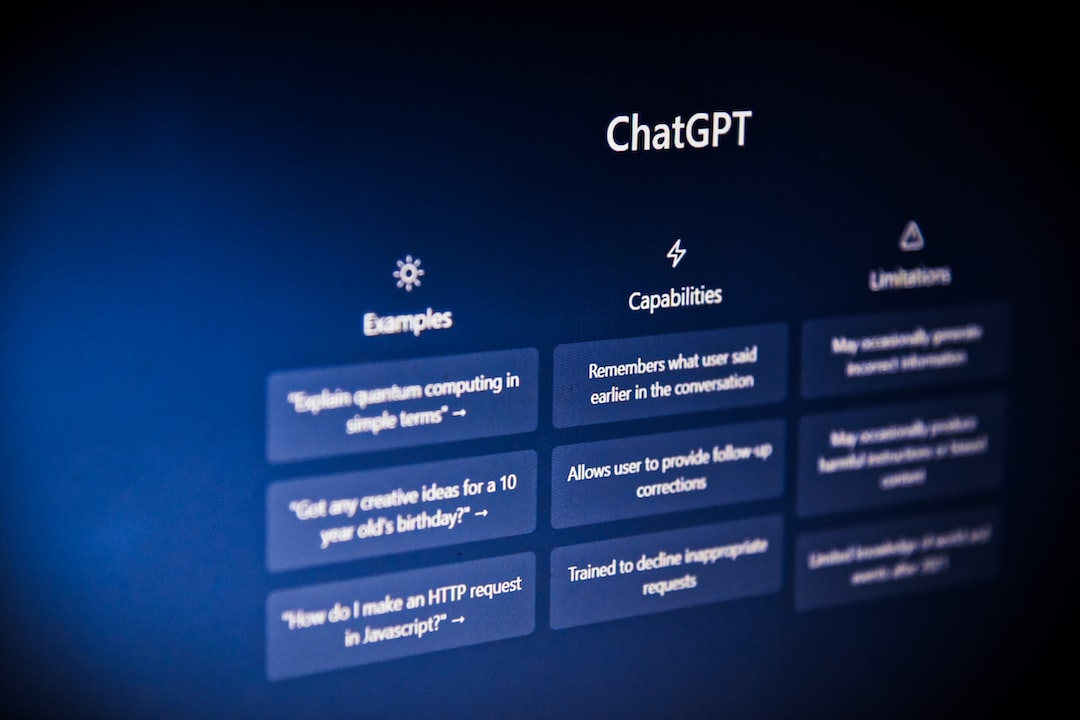
So you noticed the power that chatgpt has and were wondering how to use this on your own website and trained on your own content? Absolutely, it’s a great idea! Building your own customized ChatGPT chatbot can add value to your website and provide a unique, tailored experience for your users. Let’s dig into how you can accomplish this.

While building a chatbot from scratch can be an exciting project, it requires substantial coding skills and understanding of machine learning algorithms. Additionally, the time and resources it takes to set up, train, and fine-tune your chatbot can be substantial. But here’s the good news: you can now leverage ready-made solutions that enable you to create a custom ChatGPT powered chatbot in a matter of minutes, without needing to write a single line of code!

How To Build Your Own Custom ChatGPT Chatbot

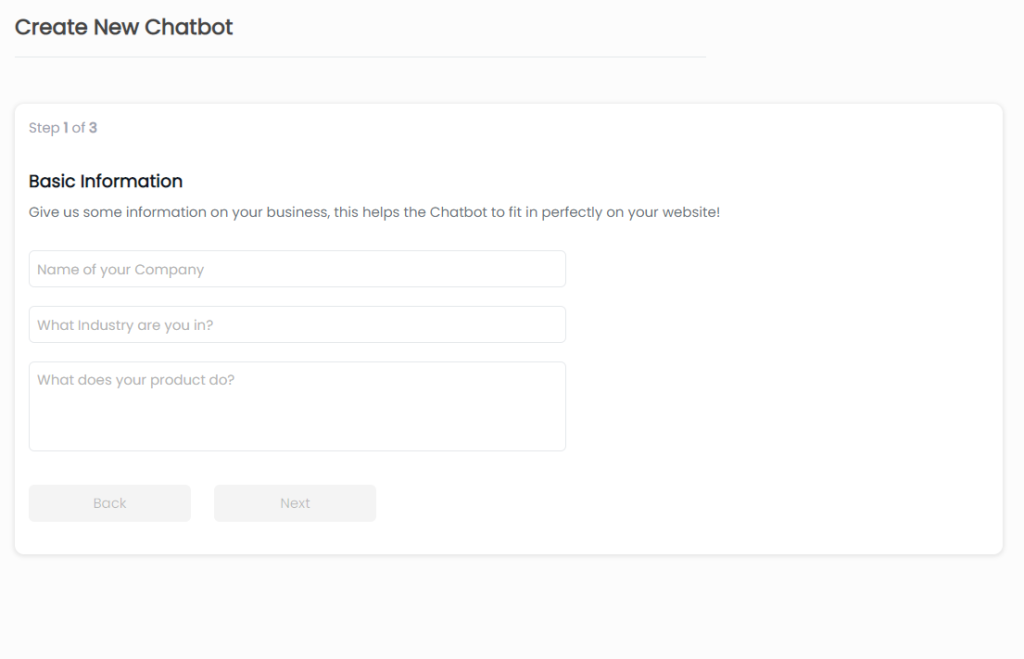
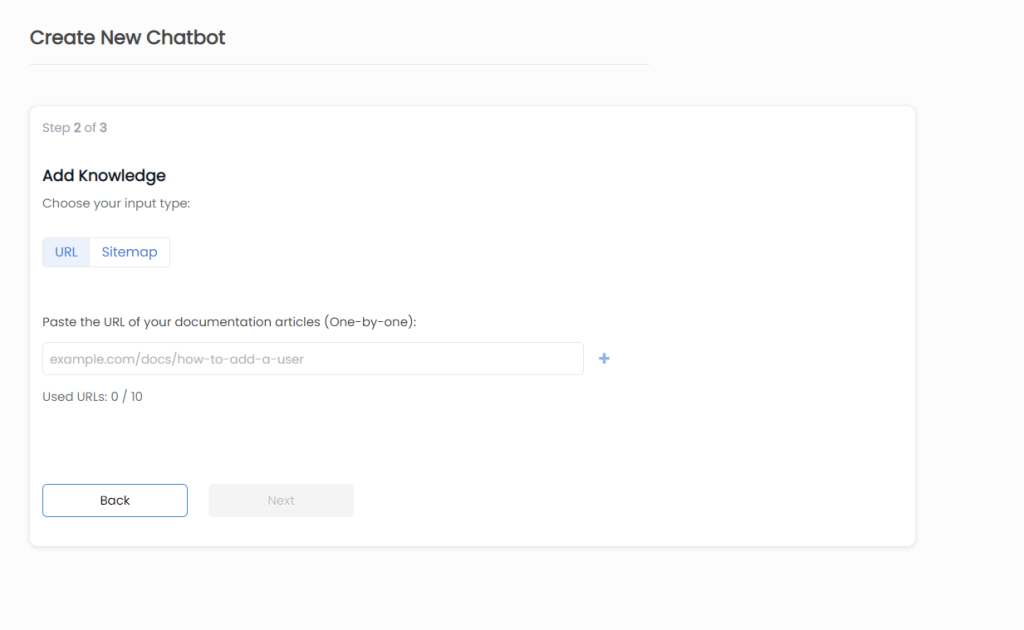
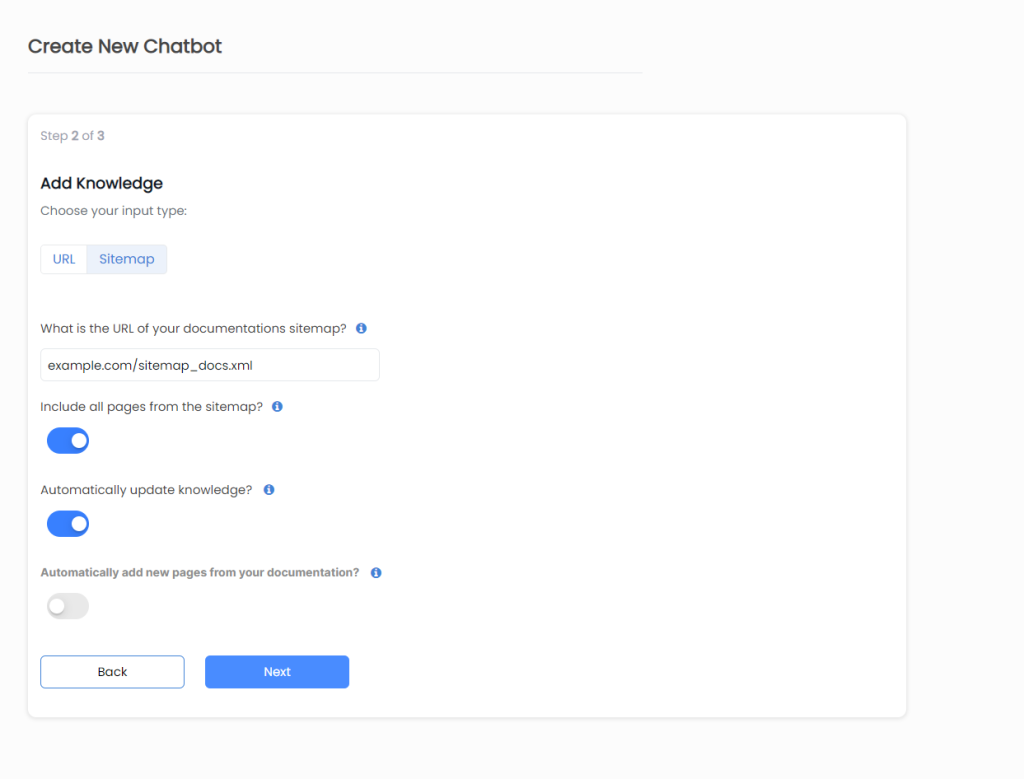
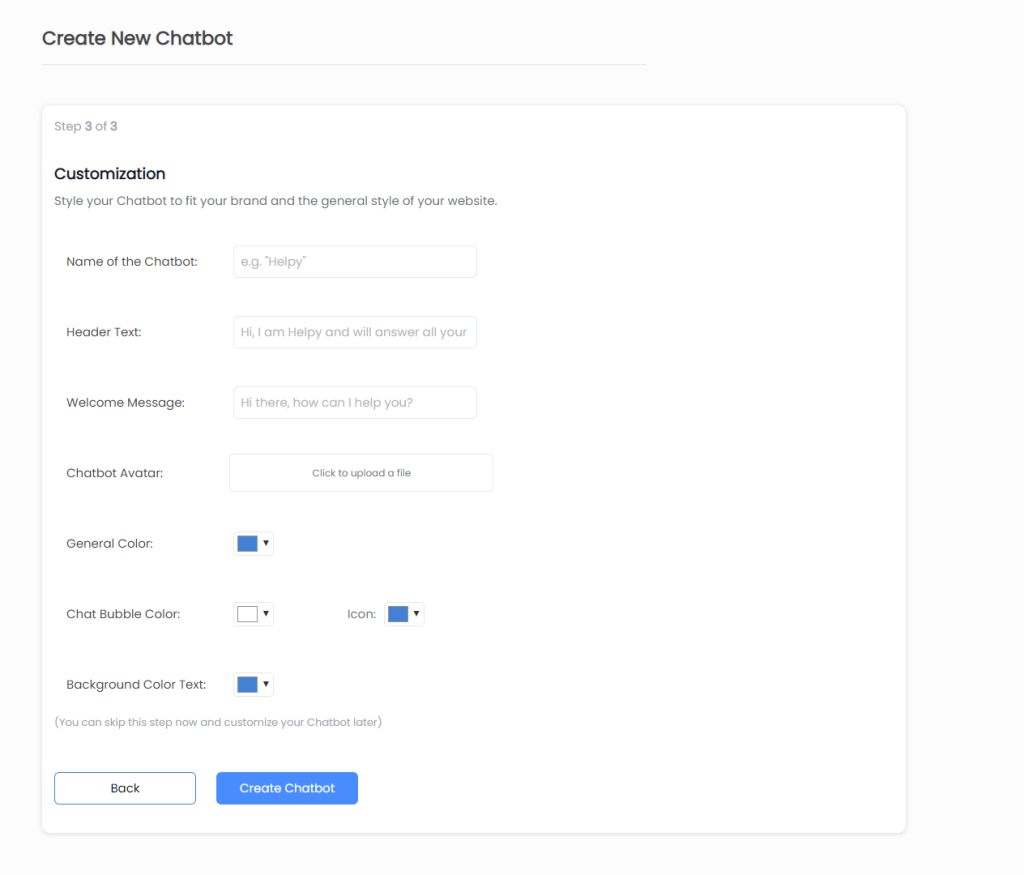
Before you start, you will need to create an account at dashboard.knowbo.ai. Then you can start following the steps below:

Step 1: Enter your details

In the first step you are able to enter information regarding your business and the service you provide. Be as specific as possible, as these information help the Chatbot to answer questions on a human level.

Step 2: Train your Chatbot

To train your Chatbot, you have several options to do so:

Source Types URLs

If you choose the URL source type, you can enter the URLs of your website pages one by one. This is useful if you want your chatbot to learn from specific pages within your website.

Source Type Sitemap

If you choose the Sitemap source type, you’ll need to provide the URL of your sitemap, which contains links to all your website pages

  • Selecting Pages from Sitemap
    After entering the sitemap URL, you can decide whether the chatbot should use all pages from the sitemap or only specific pages. If you don’t want the chatbot to learn from certain pages, you can select those URLs in the next step.
  • Automatic Knowledge Updates
    You can enable an option that allows the chatbot to automatically update its knowledge. When this feature is enabled, the chatbot will crawl your documentation content again whenever it’s updated, ensuring that the chatbot is always up-to-date with the latest information.
  • Adding New Pages Automatically
    You can also choose whether new pages added to your documentation’s sitemap should be automatically included in the chatbot’s knowledge. This ensures that the chatbot stays current with any new content that you add to your documentation.

Step 3: Customize your Chatbot

To ensure that your chatbot matches your website’s branding and design, you can fully customize it. You can modify the following settings to make your chatbot blend seamlessly with your website:

  • Colors
  • Chatbot Image
  • Texts

Step 4: Embed your Chatbot

Once you have trained and customized your chatbot, the final step is to embed it on your website. You don’t need advanced developer skills to complete this task.

Follow these steps to embed your chatbot on your website:

  1. Go to “Manage Chatbots
  2. Copy the generated code snippet.
  3. Insert the code snippet just above the closing </body> tag of your website.

That’s it! Now you have successfully created and installed a chatbot for your website. Your chatbot will be able to assist your users by answering their questions based on your website content.

ChatGPT for your Documentation

Make your whole documentation easily accesable through an easy-to-use chatbot that uses your whole knowledgebase to answer any question your customers might have.

Chatbot for documentations